Editing the video wasn't as hard as I'd imagined but it definitely took a lot of time. There were a few tricks that I picked up (like the only way to import a GIF into a video timeline was to convert it to a mp4 first), but mostly what I learned was around planning (or over-planning to be precise).
My script was good, my storyboard had a plan for all my scenes but what I didn't account for was planning for time. Our video has to be between 1:30 and 3:00 minutes long and I didn't understand what that meant in terms of planning. I had a succinct plan and I thought it would be about right for time. I didn't time my script because sections of it were illustrative/visual only. In the end, I fell a little short and had to go back and add in an extra scene to make up time. I would have liked more shots of the game-play stop-animation but ran out of time to go back and shoot more of this (the set-up and filming time were quite long for this section).
Lessons learned: Shoot more footage than you need. If you only shoot exactly what you need - you may run short!

Showing posts with label filming. Show all posts
Showing posts with label filming. Show all posts
Sunday, 16 August 2015

Saturday, 15 August 2015
Week 3: Filming
I had my script, storyboard, supplies and apps ready to go, now I just have to dive in and film! I'm sure many people don't like filming themselves but I was definitely dreading it. My script is broken down into four main parts for filming: person straight to camera introducing the concept, stop-animation of the game play using cardboard and whiteboard + voice over, footage of person interacting with the play mat + voice over, and intermittent bits of animation/high res graphics.
The voice over was easy enough, I used the blanket-over-the-head technique from Grumo Media.
The animation/graphics I have done some of and will complete as I edit the film together.
The stop-animation was interesting to put together. I found I had to re-shoot the beginning sections a few times as I figured things out. I started out with a lynda.com tutorial on this so was prepared with an app and a plan. The first few takes I used a stop-animation app but it looked like it reduced the quality of the pictures and I thought it might compromise the end result. So, I went back and re-set and took images again just using the camera app. I then realised it wasn't set out quite how I wanted and third time lucky, re-set and re-shot. I used a piece of cardboard with a line on it to measure the distance from the side of the cat to the edge of the screen. I also drew lines on the whiteboard to line up the shot, one under the dots that I lined up the bottom of the photo with, the other I used to align the sun with as it moved. Here is an image with all my guides.


The voice over was easy enough, I used the blanket-over-the-head technique from Grumo Media.
The animation/graphics I have done some of and will complete as I edit the film together.
The stop-animation was interesting to put together. I found I had to re-shoot the beginning sections a few times as I figured things out. I started out with a lynda.com tutorial on this so was prepared with an app and a plan. The first few takes I used a stop-animation app but it looked like it reduced the quality of the pictures and I thought it might compromise the end result. So, I went back and re-set and took images again just using the camera app. I then realised it wasn't set out quite how I wanted and third time lucky, re-set and re-shot. I used a piece of cardboard with a line on it to measure the distance from the side of the cat to the edge of the screen. I also drew lines on the whiteboard to line up the shot, one under the dots that I lined up the bottom of the photo with, the other I used to align the sun with as it moved. Here is an image with all my guides.

The next section I filmed was talking straight to camera + the interactive mat. I ended up with quite a set-up to film the introduction with books on stands to get the camera right and a toilet roll cut out to hold the camera in place. I also had a large sheet of white cardboard set-up to help reflect light.
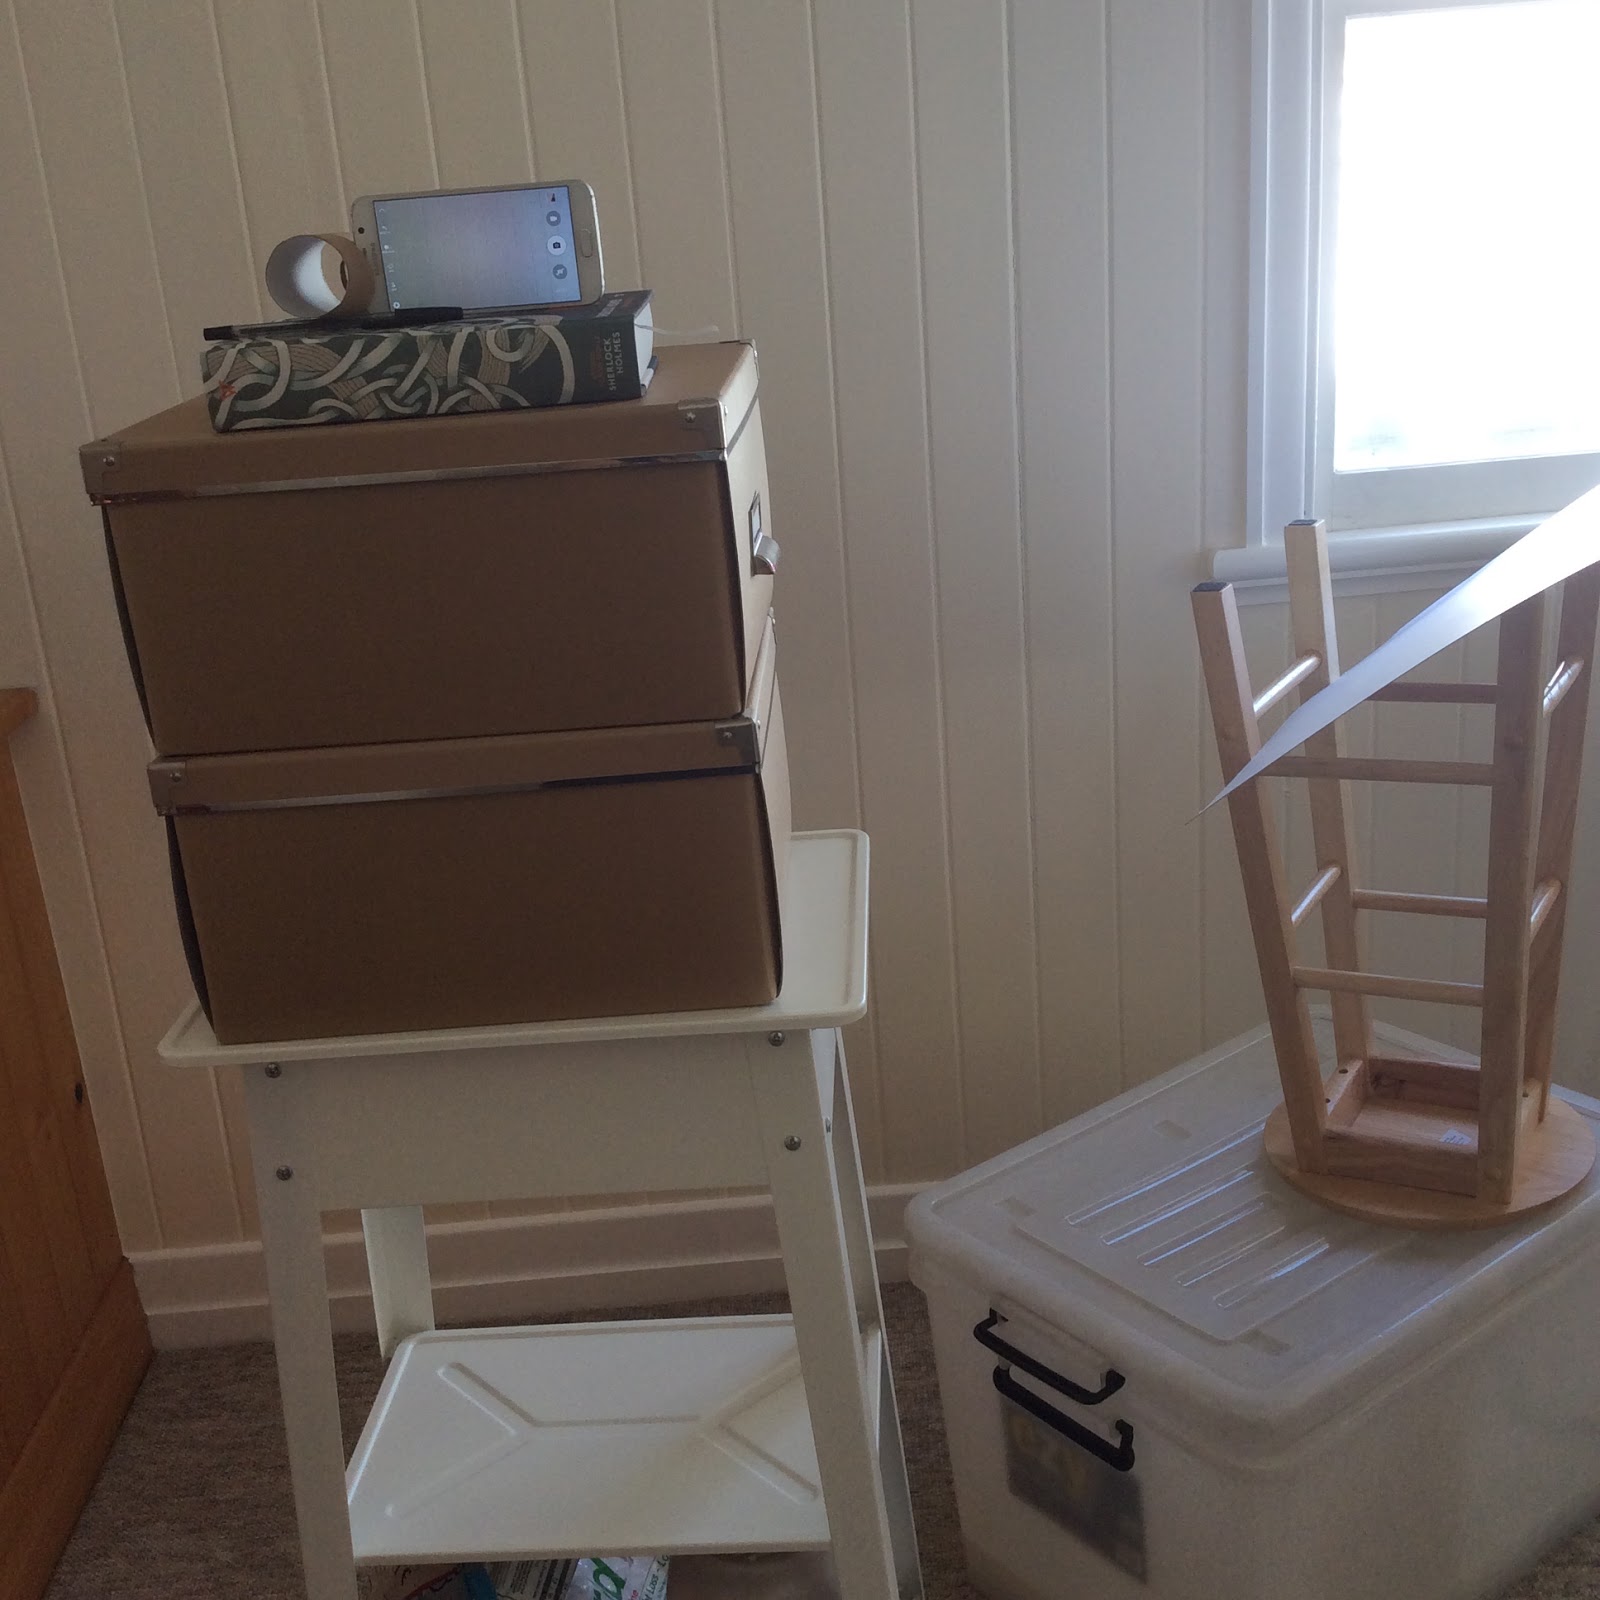
I filmed at least a dozen takes, the first few individually, and then once I worked out exactly where to stand, where to look, when I closed (or rolled!) my eyes, I just kept it running and did it over and over again.
Next stop: editing.
Subscribe to:
Posts (Atom)